Installation of Jetpack on NVIDIA Jetson TX1 – Technoinc India
Jetpack on NVIDIA Jetson TX1
Jetson TX1 comes with a pre-installed Linux operating system. The Nvidia drivers for it should be installed when it is booted for the first time. The commands to do it are shown below:
cd
${HOME}/NVIDIA-INSTALLER
sudo ./installer.sh
When TX1 is rebooted after these two commands, the Linux operating system with user interface will start. Nvidia offers a software development kit (SDK) which contains all the software needed for building computer vision and deep learning applications along with the target OS to flash the development board. This SDK is called Jetpack. The latest Jetpack contains Linux of Tegra (L4T) board support packages, TensorRT which is used for deep learning inference in computer vision applications, latest CUDA toolkit, cuDNN which is CUDA deep neural network library, Visionworks which is also used for computer vision and deep learning applications and OpenCV.
All the packages will be installed by default when you install jetpack. This section describes the procedure to install Jetpack on the board. The procedure is long, tedious and little bit complex for a newcomer in Linux. So just follow carefully the steps and snapshots given in the section below:
Basic Requirement for installation
There are few basic requirements for installation of Jetpack on TX1. Jetpack can’t be installed directly on the board so a PC or virtual machine which runs Ubuntu 14.04 is required as a host PC. The installation is not checked with the latest version of Ubuntu but you are free to play around with it. The Jetson TX1 board needs peripherals like mouse, keyboard and monitor which can be connected to USB and HDMI ports. The Jetson TX1 board should be connected to the same router as host machine via an Ethernet cable. The installation will also require Micro-USB to USB cable to connect board with a PC for transferring packages on the board via serial transfer. Note down the IP address of the board by checking router configuration. If all requirements are satisfied then move to the section for installation of Jetpack.
Steps for installation
This section describes the steps to install the latest Jetpack along with snapshots. All the steps need to be executed on the host machine which is running Ubuntu 14.04:
- Download the latest Jetpack from Nvidia official site by following the link: https://developer.nvidia.com/embedded/jetpack and clicking on download as shown in the following figure:

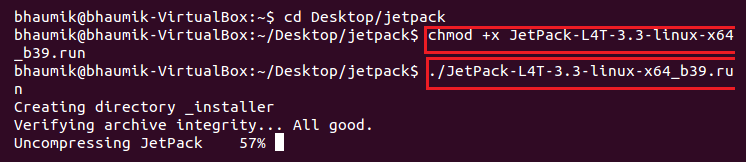
- The Jetpack 3.3 which is the latest version while writing this book is used to demonstrate the installation procedure. The name of the downloaded file is JetPack-L4T-3.3-linux-x64_b39.run .
- Create a folder on Desktop named jetpack and copy this file in that folder as shown in the following figure:

- Start a terminal in that folder by right-clicking and selecting Open option. The file needs to be executed so it should have an execute permission if it is not the case then change the permission and then start the installer as shown in the figure:
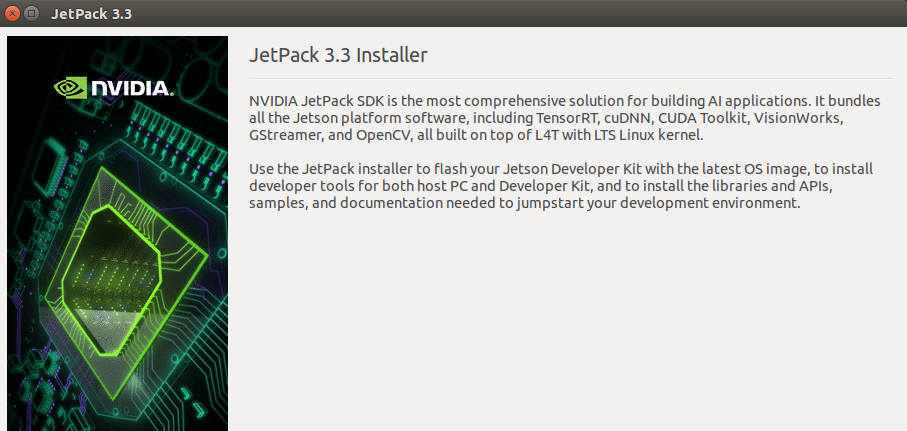
- It will start an installation wizard for Jetpack 3.3 as shown in the following figure. Just click on Next in this window.
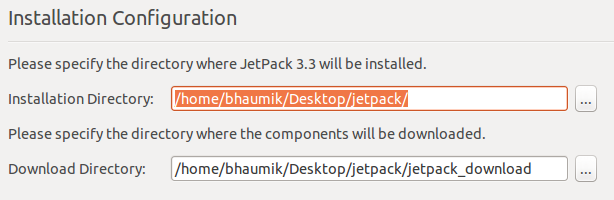
- It will ask for directories where packages will be downloaded and installed. You can choose the current directory for installation and create a new folder in this directory for saving downloaded packages as shown in the following figure. Then click on Next.
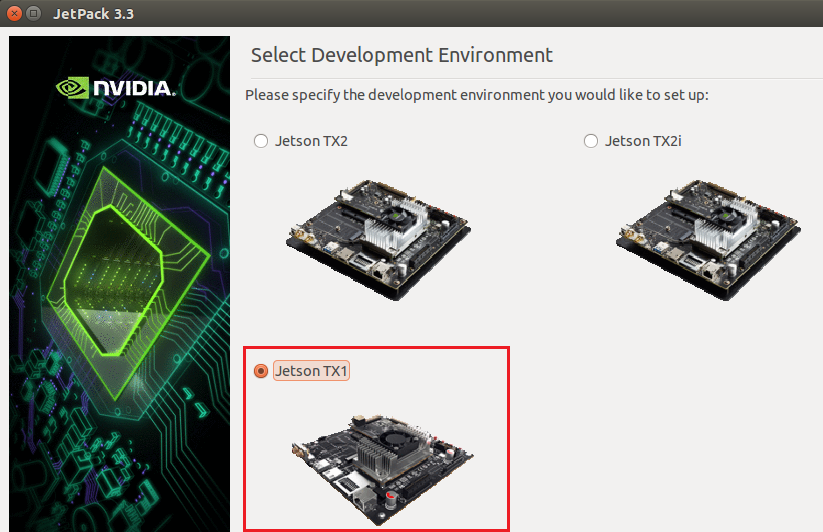
- Then it will ask to choose a development board on which jetpack packages are to be installed. Select Jetson TX1 as shown in the following figure and click on Next.
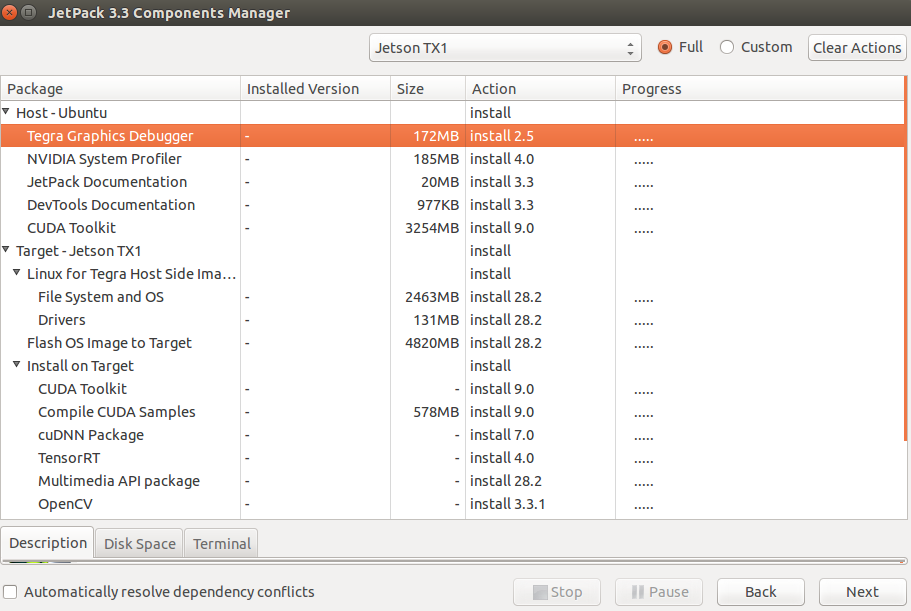
- Then, components manager window will be displayed which shows which packages will be downloaded and installed. It will show packages like CUDA Toolkit, cuDNN, OpenCV and Visionworks along with OS image as shown in the following figure:
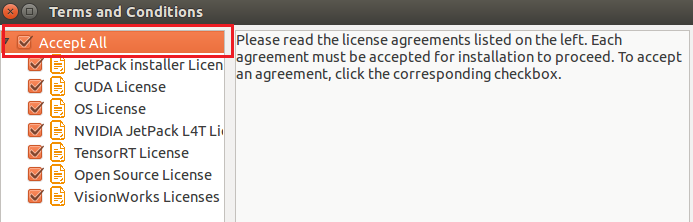
- It will ask to accept the license agreement. So click on Accept all as shown in the following figure and click on Next.
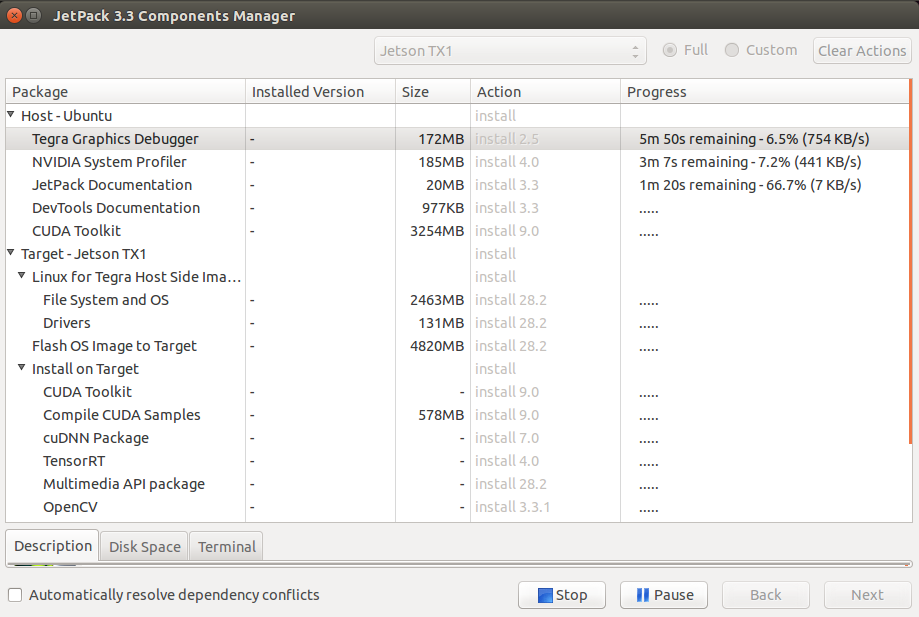
- It will start to download packages as shown in the following figure:
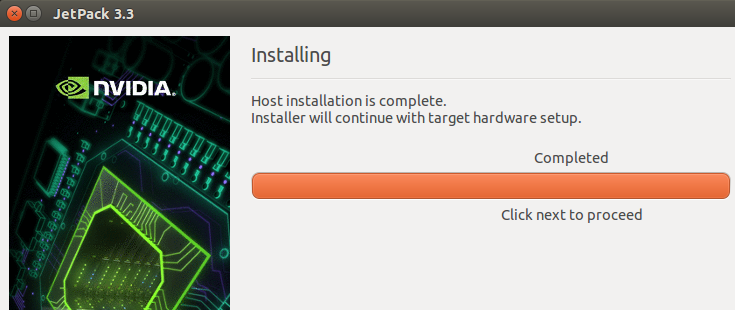
- When all packages are downloaded and installed then click on Next to complete the installation on host. It will display the window as shown in the following figure:
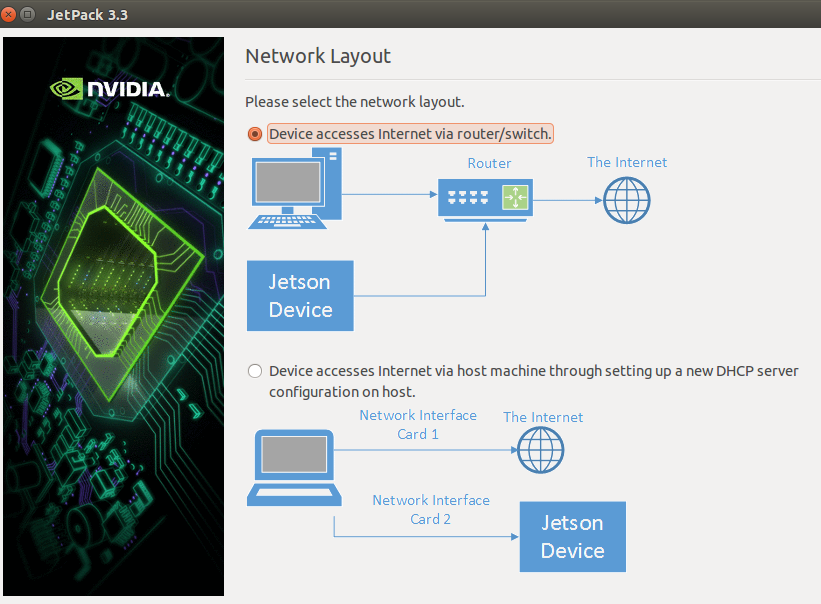
- Then it will ask to select a network layout of how the board is connected to the host PC. The board and host PC are connected to the same router so the first option which tells the device to access internet via same router or switch is selected as shown in the following figure then click Next:
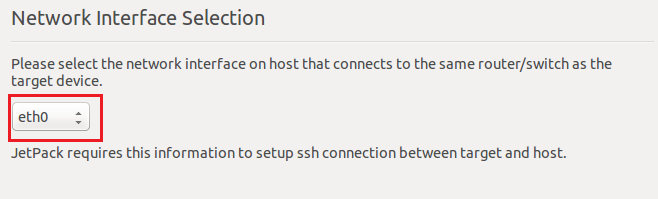
- It will ask for the interface used to connect the board to the network. We have to use an ethernet cable to connect the router to the board so we will select eth0 interface as shown in the following figure:
- This will finish the installation on the host and it will show the summary of packages that will be transferred and installed on the board. When you click Next in the window, it will show you the steps to connect the board to the PC via Micro USB to USB cable and boot the board in Force USB Recovery Mode. The windows with steps are shown as follows:

- To go in to force recovery mode, after pressing the power button, press Force recover button and while pressing it press and release the reset button. Then release the FORCE RECOVERY button. The device will boot in force recovery mode.
- Then type lsusb command in the window, it will start transferring packages on the device if it is correctly connected. If you are using the virtual machine then you have to enable the device from USB settings of the virtual machine. Also, select USB 3.0 controller if not selected. The process started after typing lsusb command is shown as follows:
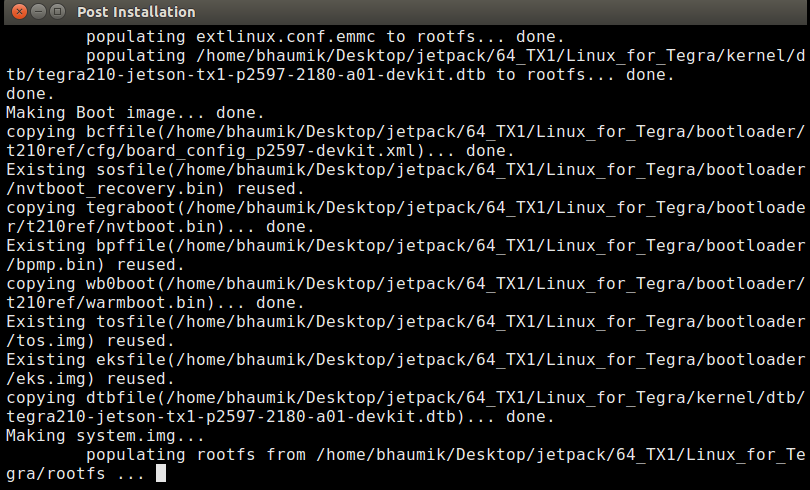
- The process will flash the OS on the device. This process can take a long time up to an hour to complete. It will ask for resetting the device after flashing has completed an IP address for ssh. Write down the IP address noted earlier along with default username and password which is ubuntu and click Next. The following window will be displayed after that:
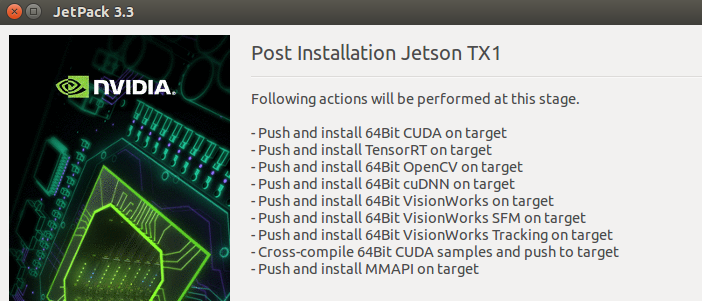
- Click on Next and it will push all packages like CUDA Toolkit, Visionworks, OpenCV and Multimedia on to the device. The following window will be displayed:

- After the process is completed, it will ask whether to delete all the downloaded packages during the process. If you want to delete then tick on the checkbox or keep it as it is, as shown in the following figure:

- Click on Next and the installation process will be finished.
- Reboot the Jetson TX1 development board and it will boot in the normal Ubuntu Operating system. You will also observe sample examples of all the packages which are installed.